The Drywall Patch That Disappears: Holes, Water Stains and Finishing Right
A patch you cannot see after painting comes down to backing, thin layers, patient sanding and primer, and a stain means the leak comes first.
October 27, 2026 · 4 min read
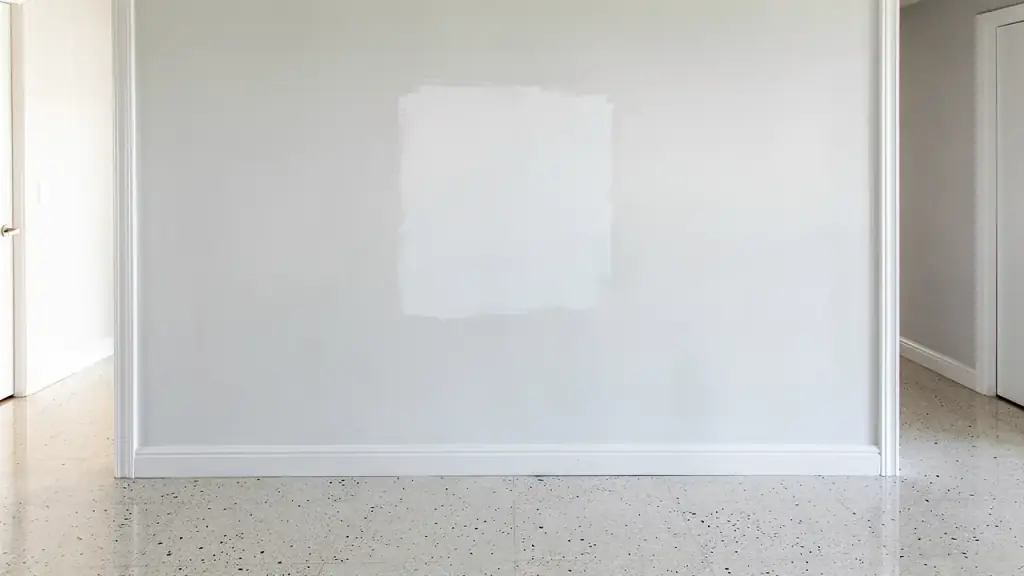
Everyone has seen a bad patch: a square of slightly different wall, a ridge you can feel with your hand, or a flat spot that catches the light from the window at four in the afternoon. A good patch is the opposite. You can stand beside the wall and not tell where the damage was. The difference is not luck. It is a handful of steps done in the right order, with enough patience to let each one dry.
Start by sizing up the damage
A doorknob dent, a hole from a pulled anchor and a fist-sized hole from a moving day accident are three different jobs. Small nail holes and shallow dents need only filler. Medium holes need a patch that bridges the gap. Larger holes need new drywall cut to fit and something solid behind it to hold the edges. Guessing wrong in either direction shows later, either as a patch that cracks or as a repair that took far more effort than it needed.
Hallways take the most abuse. Furniture, bags, vacuum cleaners and kids all hit the same few feet of wall, so it is common to find several repairs close together. It is usually better to treat that stretch as one repair area than to patch each spot separately and end up with a blotchy wall.
Backing, tape and thin layers
A hole larger than a hand has nothing to hold a patch, so the repair needs backing, a strip of wood or a patch with its own edges, fastened behind the opening. The new piece of drywall is cut to fit and screwed into that backing. Then the seams are covered with tape and joint compound.
The compound is where most of the skill lives. Instead of one thick coat, a good finisher puts on several thin ones, each a little wider than the last. Thin layers dry flat and sand smoothly, and feathering the edges wide is what makes the transition to the old wall vanish. A thick, narrow patch always leaves a hump.
- First coat fills the gap and embeds the tape.
- Second coat is wider and smooths out the first.
- Third coat is the widest and thinnest, feathered until the edge cannot be felt.
- Each coat dries fully before the next, which in humid weather can take longer than a single afternoon.
Sanding, dust and primer
Sanding is the step people rush, and it is the one that shows. The goal is a surface that feels the same everywhere when you run a flat hand over it. Check the wall with a light held low and sideways, because raking light reveals every ridge and dip that overhead light hides. Dust has to be wiped off before anything else goes on, or it ends up under the paint as tiny bumps.
Primer is not optional. Joint compound and bare drywall are far more absorbent than painted wall. If you paint straight over a patch, the finish coat soaks in differently there, and you get a dull square known as flashing, even when the surface underneath is perfectly flat. A coat of primer over the whole repair evens out the absorption so the paint dries with the same sheen as the wall around it.
Texture and paint, the final test
Many Miami homes have a textured wall finish, not a smooth one. A smooth patch on a textured wall stands out as clearly as a bare patch. The texture has to be matched, whether it is a light orange peel, a knockdown or something rougher, by spraying or dabbing it on and letting it set before painting. It is worth trying the technique on scrap board first.
Paint matching has its own trap. Old paint fades, so a fresh can of the original color often looks slightly different on the wall. Painting the whole wall, corner to corner, is often the cleanest way to finish. A visible edge in the middle of a wall is the thing people notice from across the room.
A water stain means find the leak first
A brown ring on a ceiling or a bubbled patch near a wall base is a message, not just a blemish. Water got into the drywall from somewhere: a roof leak, a failing seal around a window, a pipe in the wall, or an air conditioner line dripping into the ceiling. If you cut out and replace the stained board without finding that source, the new patch will stain in time, and the damage behind it may keep growing.
Here is the order that makes sense:
- Find where the water is coming from and stop it.
- Let the area dry out fully. Wet drywall can hold moisture for a long time.
- Check for softness, sagging or a musty smell. Those mean the board or the framing needs to come out, not just be covered.
- Cut out and replace the damaged section, then tape, coat, sand, prime and paint as above.
- Use a stain-blocking primer on any area that was discolored, since ordinary paint lets stains bleed through.
If the source turns out to be a roof or a main line that is beyond handyman scale, a straight answer about that is worth more than a quick cosmetic fix.
Drywall installation and patching is one of our core services. See our drywall page, then call (786) 275-7842 for a free quote. Every customer gets 10% off, and our team includes Spanish speakers.
JRC Sandy Handyman LLC, (786) 275-7842
Call (786) 275-7842More articles
Painting a Miami Block House: Humidity, Stucco and What Good Prep Looks Like
Most peeling on a Miami block house is decided before the first coat goes on, so here is what to check and what good prep involves.
Planning a Patio for South Florida Rain: Drainage, Base and Sun
A patio that lasts through South Florida summers is built on slope, a solid base and a clear plan for where the water goes.